Step 1
Google killed its product Picasa earlier in 2016 Download Picasa 3.8 (or later). See download links above for Mac or Windows. May 1st, 2016, Google retired Picasa. Knowing this, I downloaded the final and latest copy from Google so I could use the app in the future and not break the article below. Windows Download – Mac Download.
Step 2
From Picasa, select a batch of photos. You can do this by drawing a box around the photos you want to select, or by Clicking the first photo in the series, holding SHIFT and then Clicking the last photo in the series you want to select.
Step 3
Click File > Export Picture to Folder. Or, press CTRL + SHIFT + S on the keyboard.
Step 4
Choose your export settings:
Export location: Browse to a folder where you’d like to save your resized photos. I recommend leaving it at the default, since it’s already in Picasa’s discoverable folder structure.Name of exported folder: Name it whatever you like. However, if you plan on calling it “Resized,” as I intended to, you might want to spell it correctly. Image size: Choose Resize to and drag the slider to one of the common settings. I recommend 640 pixels. It’s decently high res, but still astronomically lower than what most digital cameras shoot in by default.Image quality: Leave this at automatic. There’s no need to downgrade the photo quality, since you’re already resizing the photo.Watermark: Optional. We’ll cover this in another groovyTutorial.
Click Export when you’re all finished.
Step 5
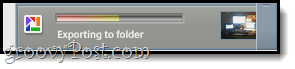
Picasa will blast your resized photos into a new folder. It goes pretty fast, but you can watch the progress in the bottom right hand corner.
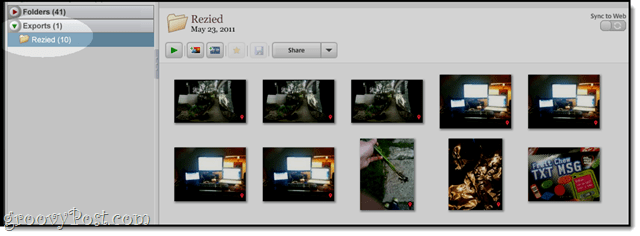
When it’s all done, you can see the new folder it created under the Exports tab on the left, if you left the export folder as the default.
Step 6
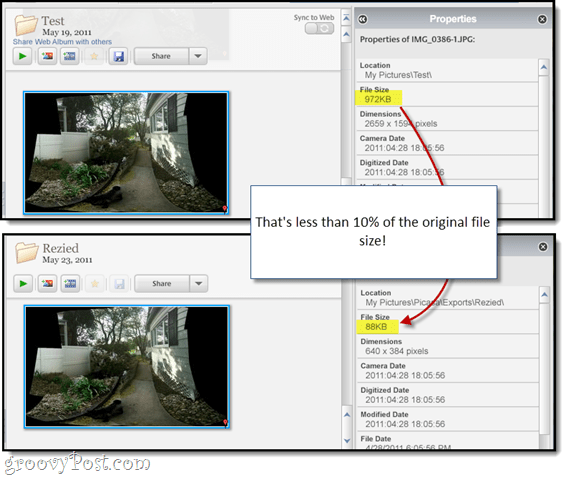
If you are curious, you can select a photo and Click View > Properties and check out the difference in file size.
In this example, we went from 972 KB—almost a megabyte—to just 88 KB. That’ll jive much easier with today’s limited data plans!
Now that you have your photos resized, it might be handy to add the resolution while batch renaming your photos. Until then, enjoy your manageably sized Picasa photos. I guess you could always use Dropbox to move the files around between all the devices. Have you played with Dropbox? Check here – https://www.groovypost.com/dropbox/ -Steve, groovyPost.com Comment Name * Email *
Δ Save my name and email and send me emails as new comments are made to this post.


![]()
