Firefox
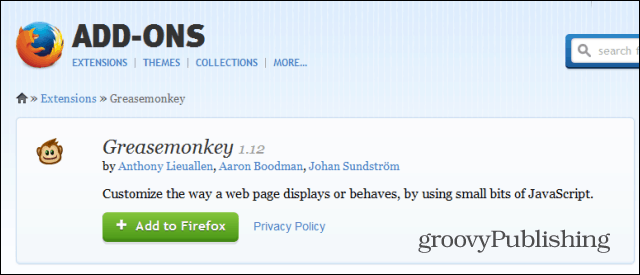
In Mozilla Firefox, you’ll first need to install the Greasemonkey extension in order for this to work. You can install it from here (a restart of the browser will be required afterwards).
Now, install the Dropbox Plus script for Greasemonkey by pressing the Install button on the top right side of the script’s website and then confirming the installation.
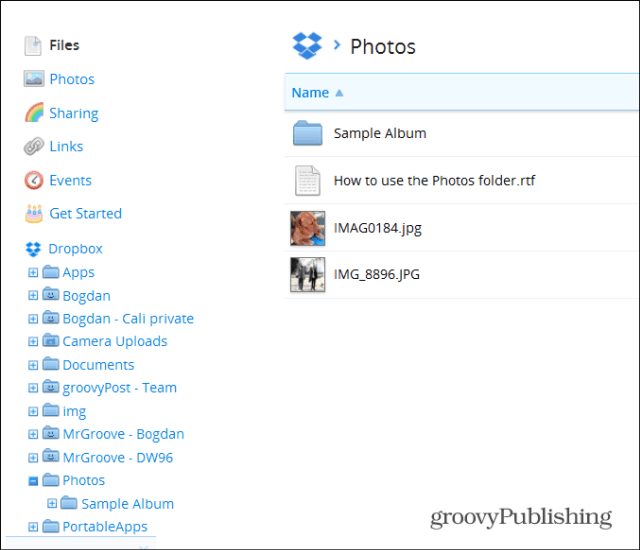
Now, log in to Dropbox or refresh the page if you’re already logged in. You’ll notice that you have a tree structure navigation system on the left side, making things much simpler now. Ahh… yeah, that’s better.
Google Chrome
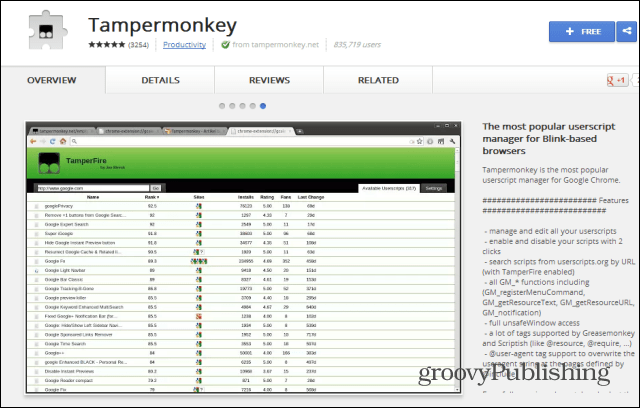
The extension for Google Chrome is even easier than Firefox. Start by installing Tampermonkey which you can find in the Chrome Web Store.
Once installed, head to the script’s website and click that same Install button. Installation will need to be confirmed here, too.
There you go! Full tree navigation of your Dropbox folder in Chrome.
Do you have a dropbox tip? Drop us a comment about it and we will write it up! Comment Name * Email *
Δ Save my name and email and send me emails as new comments are made to this post.


![]()
