The beauty of Google Forms is that you can quickly create a simple form that you can then embed on your website. You can also customize the form with colors and a style that matches your overall theme. In this article, you’ll learn how to customize a Google Form to match your theme, and how to embed it into any page on your site.
Customizing Your Google Form
For this example, we’ll start with an example website and a default blank Google Form. To get started, create a new page on your site and take a close look at the layout and theme. Specifically, note the primary and secondary colors.
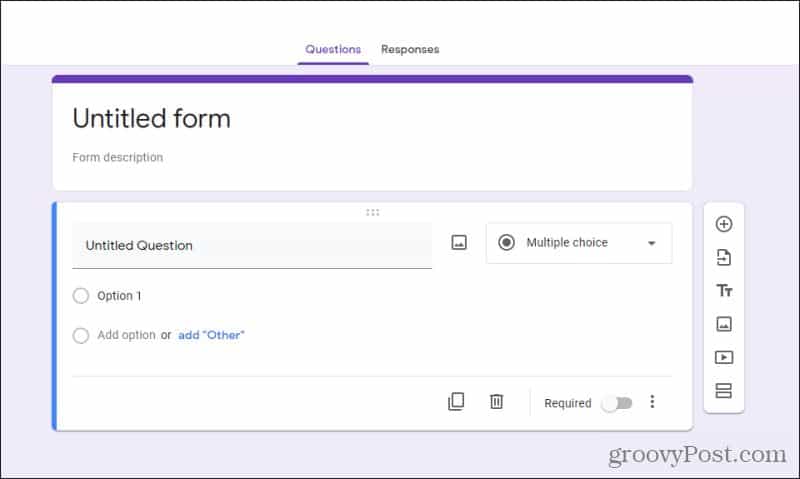
In this example, the theme is a white background with black banners. Header text is dark black and bold, and the site font itself is plain black. On this particular page, the plan is to embed a form letting visitors vote for their favorite movie out of five options, and provide their own comments. Next, you’ll need to customize your Google Form to match this page layout. When you create a blank Google Form, you’ll notice that the layout defaults to a purple background with bolded black text and plain text on the form. The banner border at the top is dark purple.
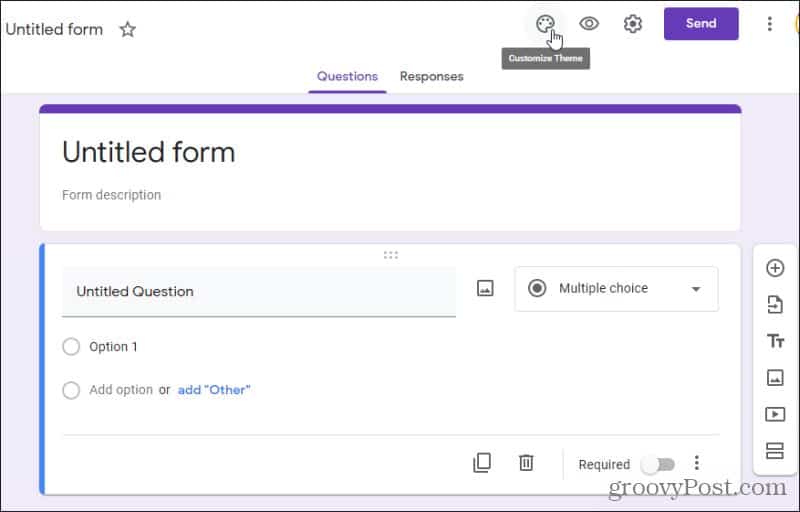
Obviously, this won’t work on the page where we’d like to embed the form. To customize the form, select the color palette icon at the upper right corner of the form editor window. This will allow you to customize the theme, including the color scheme.
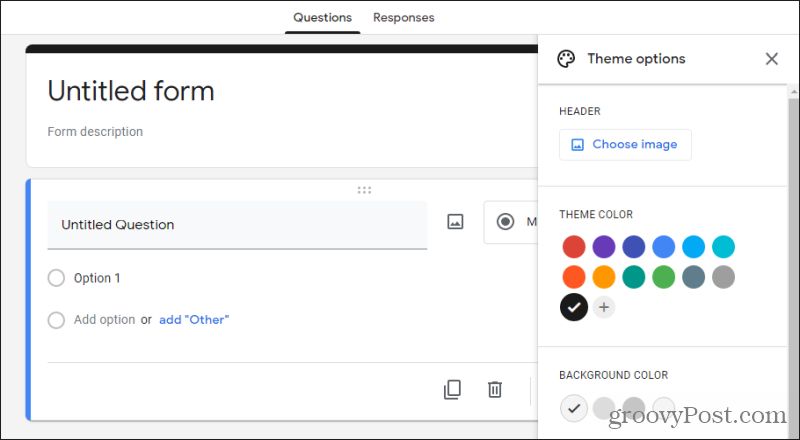
This will show a customization dropdown. If you don’t see a color scheme that works in the Theme Color section, you can select the + icon to fine-tune the color you’d like to base your form on.
Use the color palette to select the exact color you’d like for your theme. In this case, choosing black automatically changes the background color to a complementary color that should work with black. You can change this color under the Background Color section.
Other options on this page include adding a header image and changing the form’s font style as well. Once you’re done customizing the form, there are a few other options to configure before you’re ready to embed the Google Form on your website.
Customizing Google Form Options
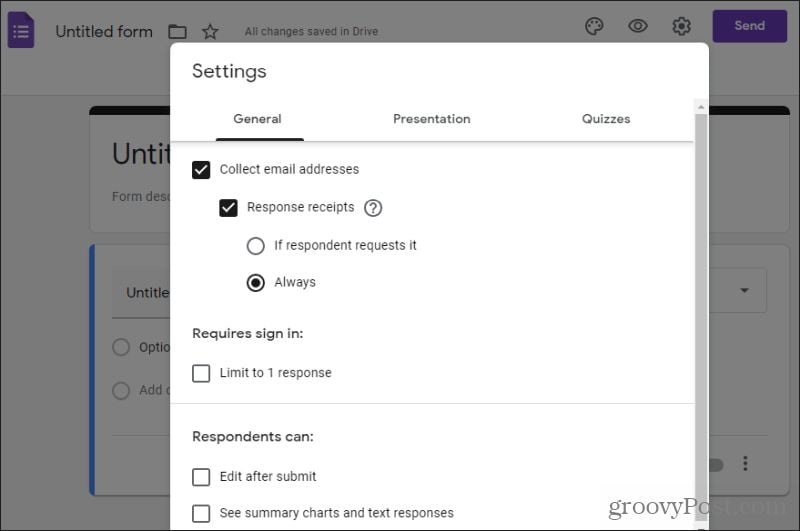
Before you embed your Google Form into your website, you should set up a few things to accommodate web-based form entries. To do this, select the Gear icon at the upper right corner of the form. This opens a Settings window with various configuration options. Unless you want to keep the results anonymous, you should enable Collect email addresses, and provide Response receipts.
Response receipts will automatically take care of emailing a confirmation message when the user has submitted their entry. This way you don’t have to worry about programming this from your website itself. You can leave all of the other options un-selected unless you want to limit responses to one per user. In that case, you’ll want to enable Limit to 1 response. Select the Presentation tab to see more options.
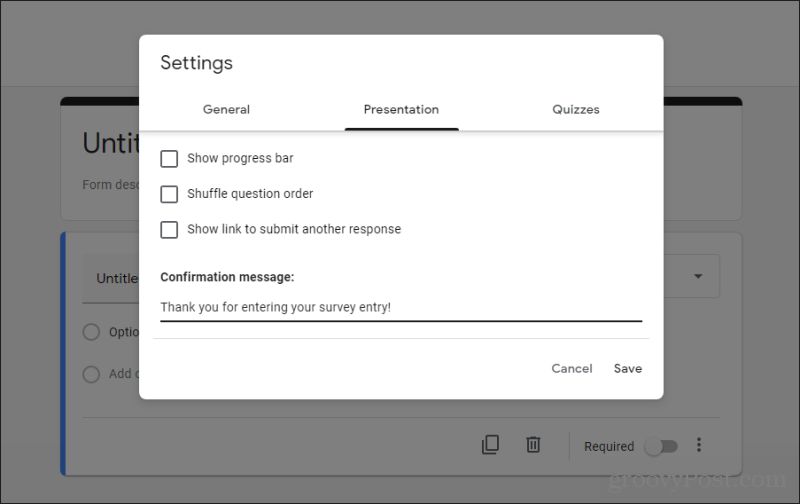
Unless your form is very long, you probably don’t need to enable Show progress bar. The Shuffle question order option is good for surveys where you want to provide a different order of questions to every visitor. Typically, you won’t enable Show link to submit another response since for most surveys you’ll only want one response per user. This is enforced using their email address. Type a confirmation message you’d like the user to see in the Confirmation message field. Select Save at the bottom of the entry form when you’re done. Once you’ve created your form and you’re ready to embed it onto your website, select Send to move on to the next step.
How to Embed a Google Form on Your Website
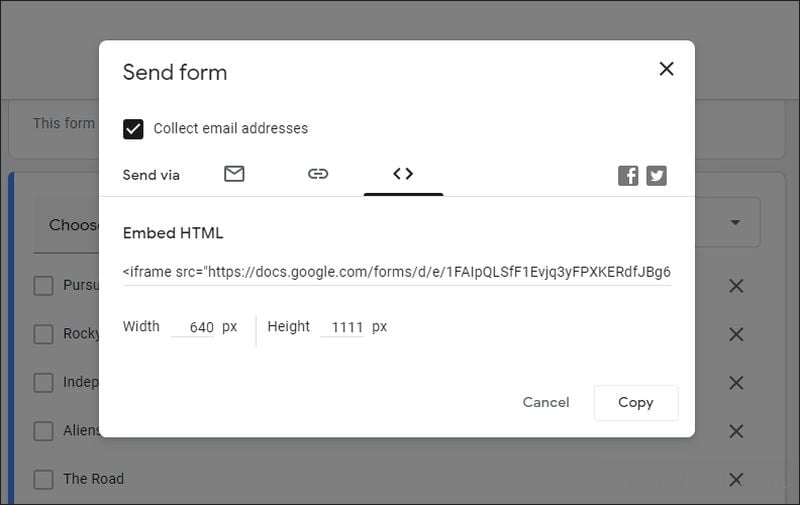
Once you select Send, it’ll open a window with various options to share your form with any users. To embed on a website, you’ll need to select the embed icon (two-carat characters). In the Embed HTML field, you can see the iframe code that you can use to embed the form.
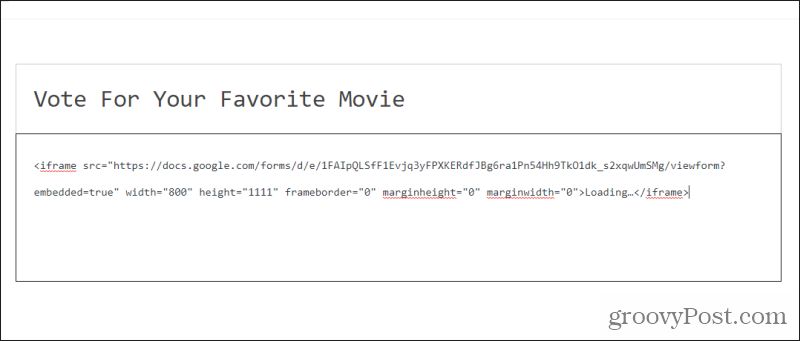
Make sure to adjust the Width and Height of the form so that it’ll fit on your web page correctly. Once you’ve fixed these settings, select and copy the entire iframe code from the Embed HTML field. If you’re using WordPress, you’ll need to switch to Code editor mode when editing the page you want to embed the form into. To do this, edit the page and then select the three vertical dots at the upper right corner of the WordPress editor window. Select Code editor in the Editor section.
In the code editor window, paste the iframe embed code into the content box.
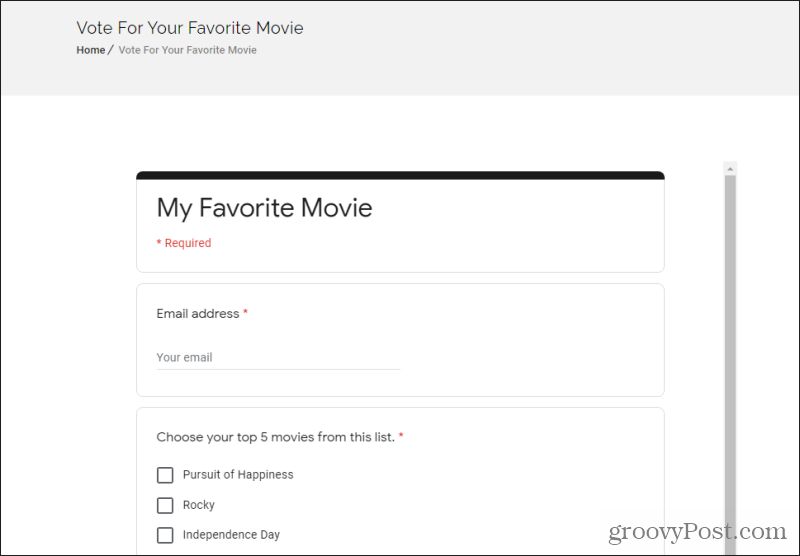
Finally, select Save draft and then select Preview to see what the form looks like on your page.
If the form doesn’t look quite right, just go back to the Google Forms account and tweak the design a little more. Then, repeat the process above to repaste the new embed code. Once the form preview looks right, you’re ready to publish the page and start collecting form results!
Collecting Form Results From a Website
All form entries you receive from website visitors will go to a Google Sheets spreadsheet. You can see these results by going back to the form you created in Google Forms and selecting Responses at the top of the form design page. The nice thing about collecting email addresses with a form like this is that you’re also building up an email list of your website visitors. You can use this to send mass emails with news about your site or other updates your readers may be interested in. Either way, Google Forms is a powerful tool to embed forms on your website without any programming knowledge at all.


![]()
