Ubuntu Style
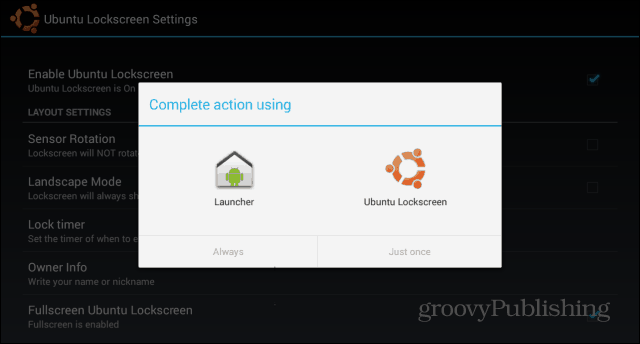
In order to get that groovy lock screen on your Android device, start by installing the Ubuntu Lockscreen app. You can do so for free, from the Google Play Store. It installs just like any other app. Once installed, run it. You will be asked to set it as the default launcher. Don’t forget to make sure it’s always the default launcher, or the lock screen won’t work.
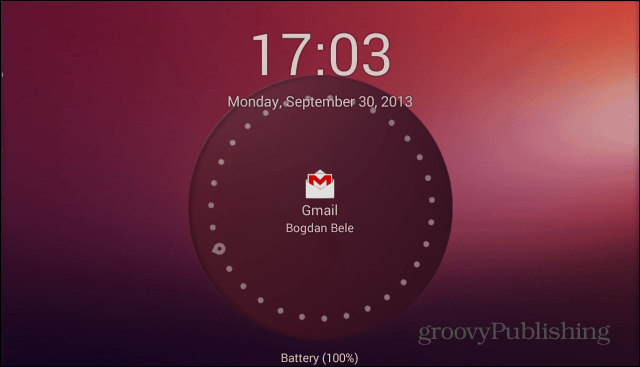
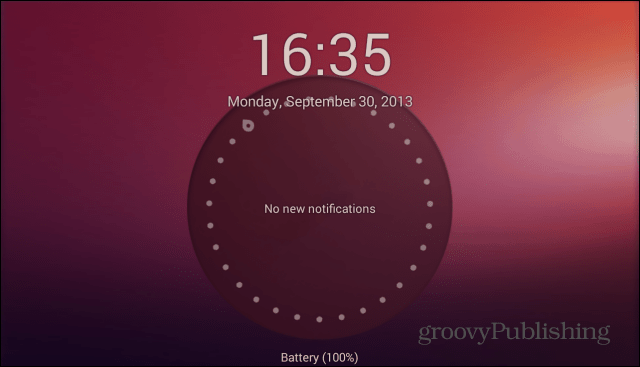
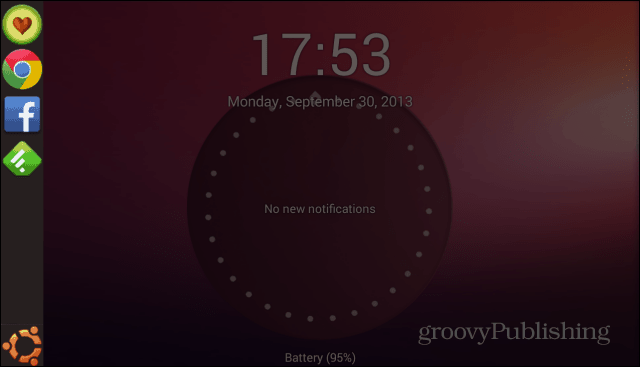
Then you’ll notice that locking your device shows a beautiful Ubuntu-style lock screen. Once you swipe your finger right to left, your device will unlock. Unless you have one of Android’s screen locking methods in place, that is; if you do, it will come up afterwards and you’ll need to draw your pattern, or enter the PIN/password.
That is why I suggest you disable that and use Ubuntu Lockscreen’s own security measures. To do so, click the Ubuntu Lockscreen icon in your device’s list of apps.
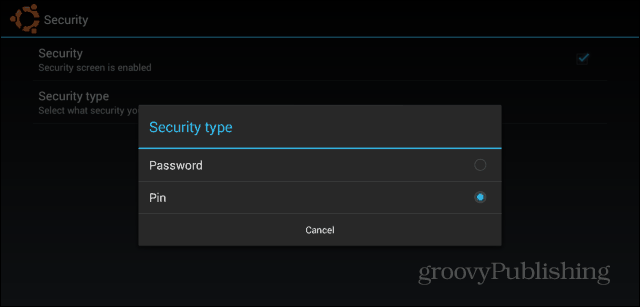
In the settings menu that comes up, scroll down to Security.
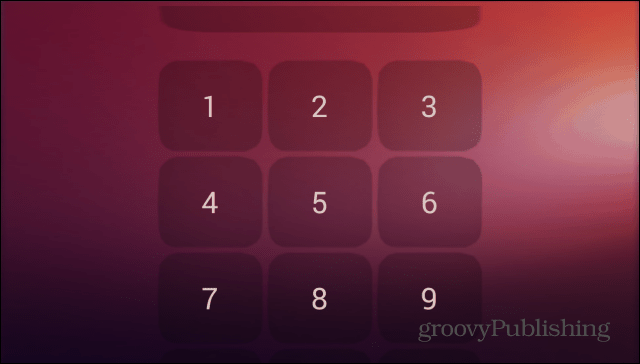
Then, enable the security screen and set the one you want – PIN or password are both available.
Once enabled, lock the tablet and enter the password or PIN twice. Then, enter it for a third time in order to unlock the device. From then on, you’ll need to enter the code or word you set in order to unlock your phone or tablet.
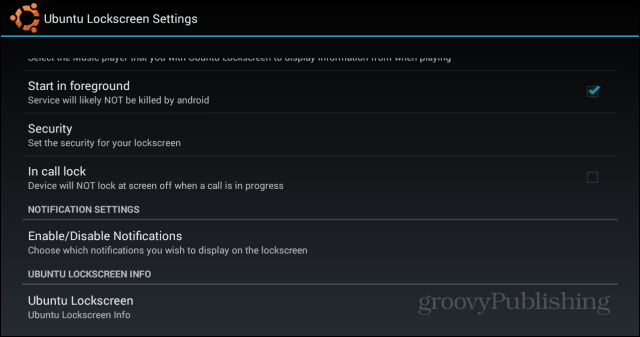
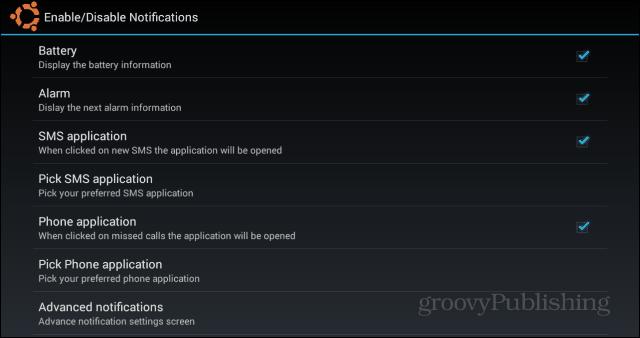
However, the app isn’t just a nice-looking lock screen. It can display notifications, in a similar way to Dynamic Notifications, which I reviewed here. In order for Ubuntu Lockscreen to be able to show said notifications, go to Enable/Disable Notifications in the same settings menu. You’ll be asked to open system settings. Once there, make sure the accessibility service is on for Ubuntu Lockscreen.
The same Notifications menu allows you to customize the items that show up on your Ubuntu Lockscreen. Maybe you don’t want your missed calls or texts to show up there, for everyone to see.
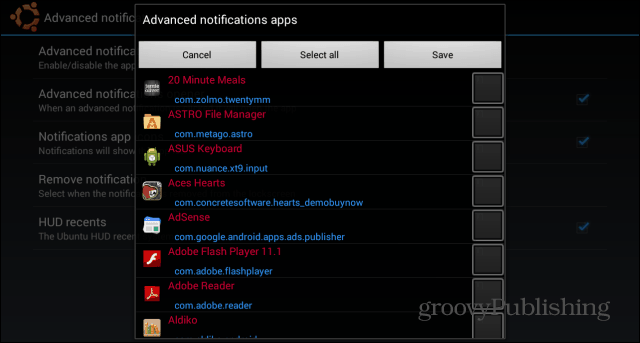
If you have a specific list of apps you want allowed, click Advanced notifications. The full list of apps installed on your device will be shown, and you’ll be able to tick the ones you want to allow.
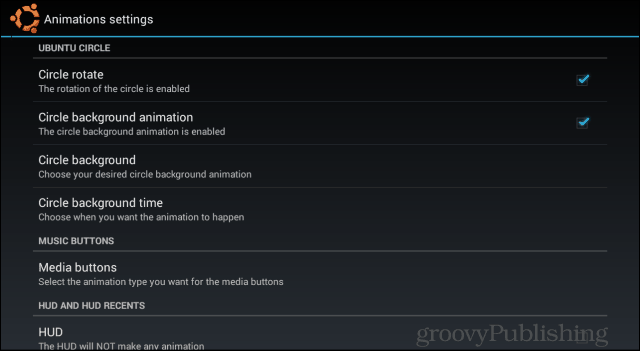
Coming back to the Settings menu, there’s a bunch of other features you can toggle, in order to make the lock screen exactly what you want it to be. For example, you can add music buttons, so you can pause or skip songs. You can also decide which animations are displayed.
You can add apps you want quick access to to a sidebar. The sidebar is accessible with the screen locked or unlocked.
Even if the regular Android lock screen can be customized with widgets, the Ubuntu Lockscreen has made a very good impression on me, and I think I’ll stick with it for the moment. Have you tried Ubuntu Lockscreen? Leave a comment below and let us know what you think about it. Xtrlock locks the X server till the user enters their password at the keyboard. While xtrlock is running, the mouse and keyboard are grabbed and the mouse cursor becomes a blue padlock. Output displayed by X programs continue to be visible. Comment Name * Email *
Δ Save my name and email and send me emails as new comments are made to this post.
![]()

![]()
