But that option is no longer available with Windows 10. By default, the number of items that will display in the jump list is 12. However, if you need to increase or decrease the number of items, it’s still possible, but it will need to be done with a Registry hack.
Change Number of Items in Windows 10 Jump Lists
Hit the Windows key and type: regedit and hit Enter to launch the Registry Editor or select it from the search results.
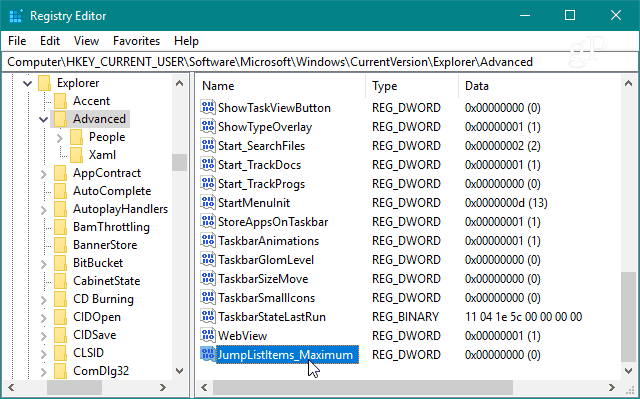
Then in the Registry Editor navigate to the following path: Right-click on Advanced and choose New > DWORD (32-bit) Value and name the value: JumpListItems_Maximum
Then double-click on the JumpListItems_Maximum key you created and change the Value data to the number of items you want to display.
Then you can simply close out of Registry Editor, you don’t need to log out or restart your system to see the changed. But keep in mind that the number you choose will be the same for all apps that support the Jump List feature. For example, here is what it looks like after I changed the value to 25 – which admittedly is a bit much and fills the entire screen. Still, with a large value, you are able to scroll through the list of items. And that makes it easier to find the files that you need.
Of course, if you want to have smaller jump lists you just need to use a smaller value. And if you want your jump lists to have a fresh start, read our article on how to clear Windows 10 Jump List history.


![]()
