There’s a simple Registry change you can perform to make Windows 11 work on older unsupported hardware. It’s important to note that Microsoft may hold back cumulative updates for your machine if you bypass TPM and UEFI Secure Boot requirements, however. If you want to install Windows 11 on unsupported hardware, here’s what you’ll need to do.
How to Install Windows 11 on Unsupported Hardware
Officially, Windows 11 has these minimum system requirements:
1 gigahertz (GHz) or faster processor. A minimum of 2 or more cores is required on a compatible 64-bit processor or System on a Chip (SoC)4GB RAM64GB or larger storageUEFI/Secure Boot capable system firmwareDirectX 12 compatible graphics / WDDM 2.xA 9-inch screen with HD Resolution (720p) or largerMicrosoft account and internet connectivity required for Windows 11 Home
Does your PC fall short of Microsoft’s minimum system requirements to run Windows 11? If it does, you might see a message that says that your PC “doesn’t currently meet Windows 11 system requirements.” Alternatively, it may tell you that a certain component (such as your processor) isn’t supported. To get around this problem, you’ll need to edit the Registry to bypass the issue. You can then begin the installation manually using the Windows 11 installation image files.
Download the Windows 11 ISO
One of the first things to do is download the Windows 11 ISO. This is the installation image file which you can find on this Microsoft page. Scroll down to the “Download Windows 11 Disk Image (ISO)” section and select Windows 11 from the dropdown. Click the Download button to begin downloading the file to your PC.
Next, select the language you want to use, then click Confirm.
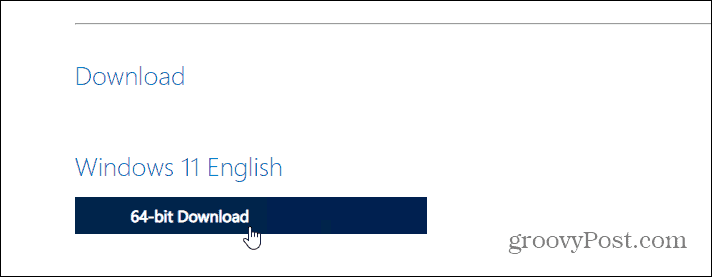
You will need to click the 64-bit Download button—Windows 11 only comes as a 64-bit OS. This will take some time to complete.
Modify the Registry
While the ISO file is downloading, open the registry by using the keyboard shortcut Windows key + R. In the Run dialog, type regedit, then press OK.
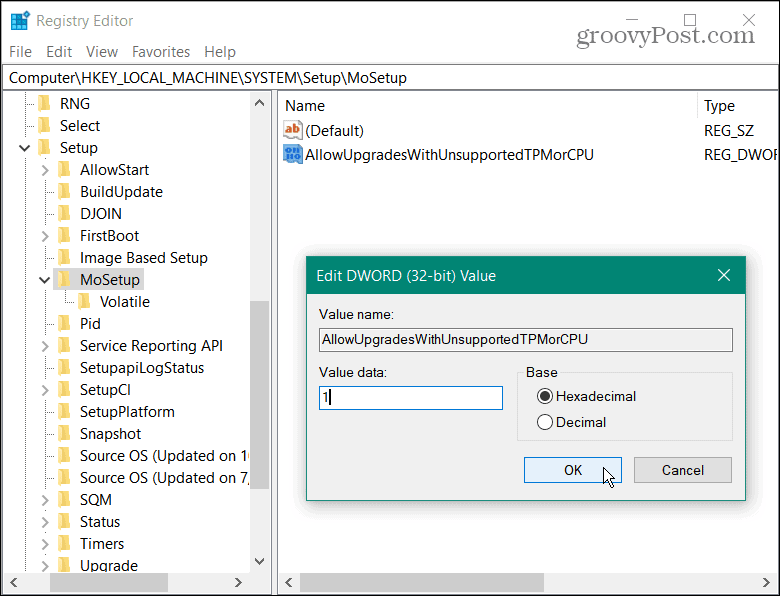
Next, navigate to the following path in your Registry. You can copy and paste the following address into the address bar at the top: Next, right-click MoSetup on the right, then select New > DWORD (32-bit) Value.
Name the 32-bit value to AllowUpgradesWithUnsupportedTPMorCPU and type 1 in the Value Data box. Click OK to save.
You’re free to close the Registry Editor at this point. Wait for the ISO to finish downloading, then restart your PC for the Registry changes to take effect.
Mounting the ISO File
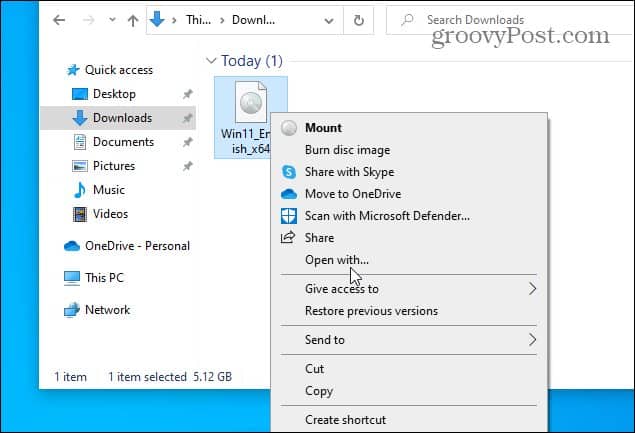
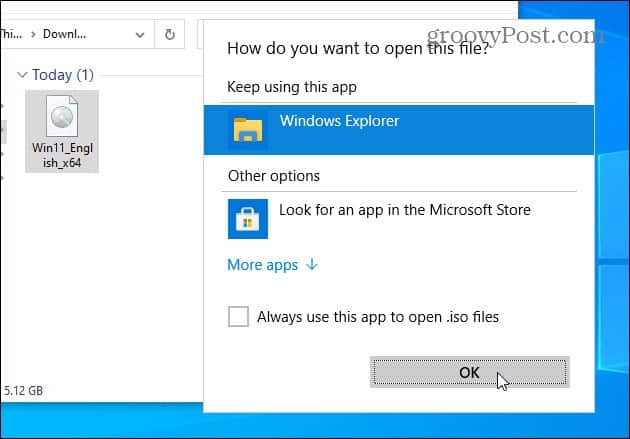
After your PC restarts (and once the Windows ISO file has downloaded), right-click the file in File Explorer, then select Open With from the context menu.
Choose Windows Explorer to mount the ISO, then press OK.
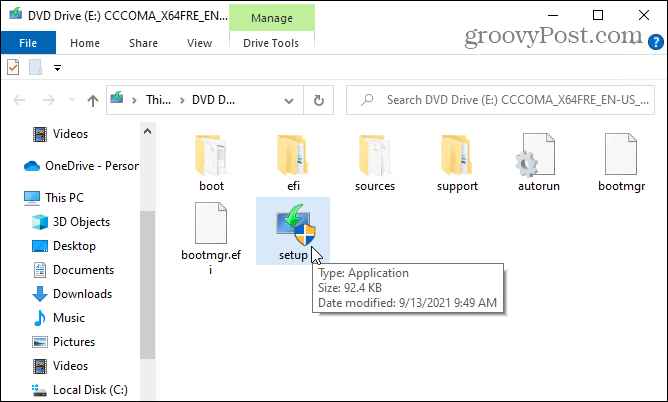
Your installation files will appear as a virtual drive in File Explorer. Open this drive, then double-click the setup.exe file to begin the installation. Press Yes to agree to the UAC dialog if it appears.
Install Windows 11
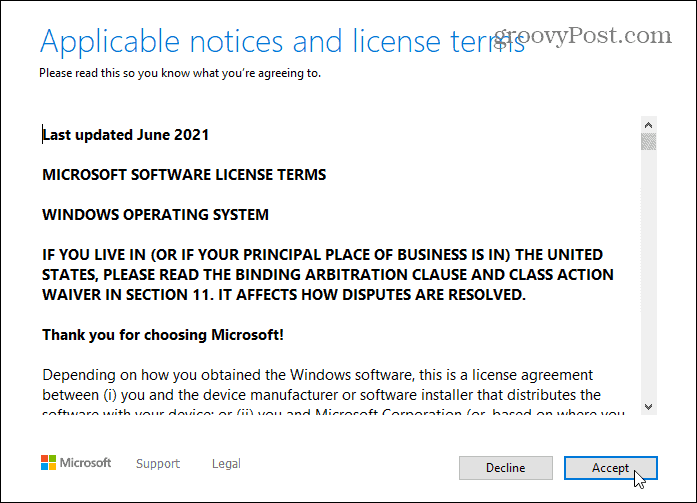
Provided you modified the Registry values correctly using the steps above, you should be good to go—Windows 11 should begin installing. Agree to the EULA and follow any additional on-screen instructions to begin the process.
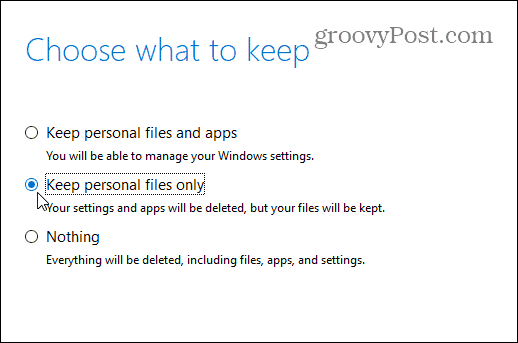
The Windows 11 installer will check for any available updates. When you reach the Ready to install screen, press the “Change what to keep” link to confirm what files and settings you wish to keep.
You can choose to keep your personal files or apps, keep your files but remove the apps, or wipe your PC completely (similar to a clean install). Select your preferred option from the list, then press Next.
You should be ready to begin the installation. If you want to proceed, press Install to begin installing Windows 11.
Windows 11 should now successfully install on your “unsupported hardware.” This will take some time, so take a break at this point and wait for the process to complete.
You may see additional warnings about unsupported hardware as the installation continues. As long as the changes above are completed successfully before you begin, you should be able to ignore these and continue your installation.
Updating to Windows 11
The steps above should help you to install Windows 11 on unsupported hardware. Officially, this feature allows business users to test Windows 11 on large-scale environments, but it remains available for users at home to use, too. Installing Windows 11 is one thing, but customizing it is another. A lot has changed in Windows 11—you may want to move the Start menu back to the left, for example. There are also new ways to open Task Manager, so if an app crashes, don’t panic, because you can still force it to close. Values are still “Beta” before entering Settings, so it is the Settings app that changes them back. Comment Name * Email *
Δ Save my name and email and send me emails as new comments are made to this post.


![]()
