Windows 10 Automatic Maintenance
The Automatic Maintenance settings are still accessible from the classic Control Panel at the time of this writing. Open Control Panel and choose Security and Maintenance.
Next, expand the Maintenance menu and under the Automatic Maintenance section, click the “Change maintenance settings” link.
That will allow you to set a different time for the automatic maintenance tasks to run. It is set to 2 A.M. by default but you can change it to a time that works best for you. You should also make sure that the “Allow scheduled maintenance to wake up my computer at a scheduled time” is checked if you want it to run while you’re away from your machine.
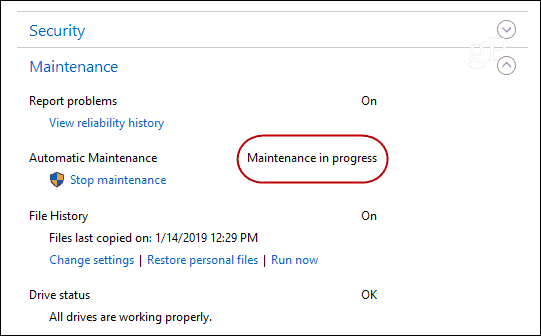
From the same section, you will also see when that last time the maintenance activities ran. Here you can also manually start the maintenance activities and you will see a small message letting you know the maintenance is in progress. If you are using your PC at the time, its performance can be slower. If it is, you can stop the maintenance.
The daily maintenance tasks can run for up to one full hour. For anything that doesn’t complete, unless you kicked it off manually, Windows will find a time finish the maintenance when you’re not actively using your system. Each PC will have different maintenance tasks that run depending on the version of Windows 10, installed software, and the type of hardware it has under the hood. If you are a casual user, you should be fine by keeping the default setting.


![]()
