Manually Install Windows 11 Updates
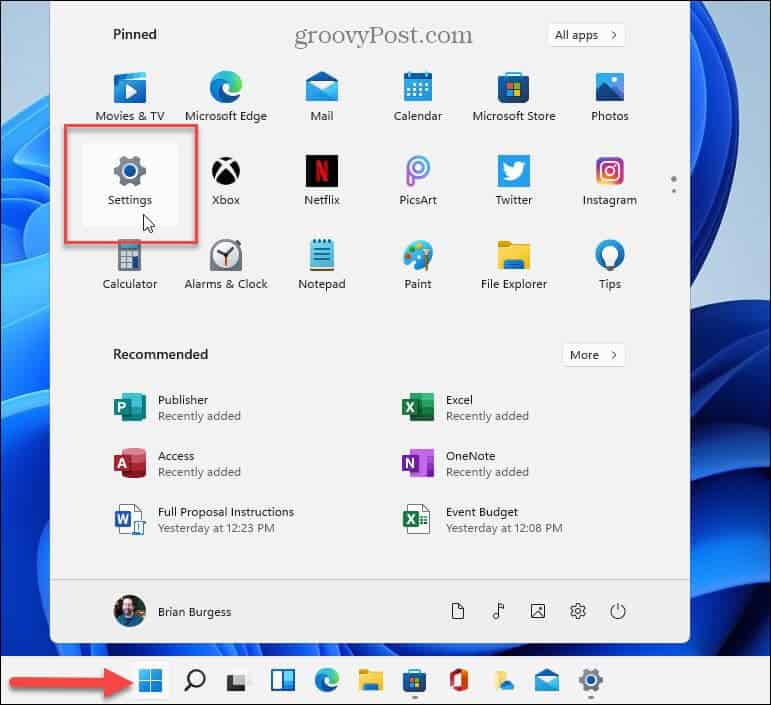
To check for and install updates manually, click the Start button and click on the Settings icon. Alternately, you can use the keyboard shortcut Windows key + I to open Settings directly.
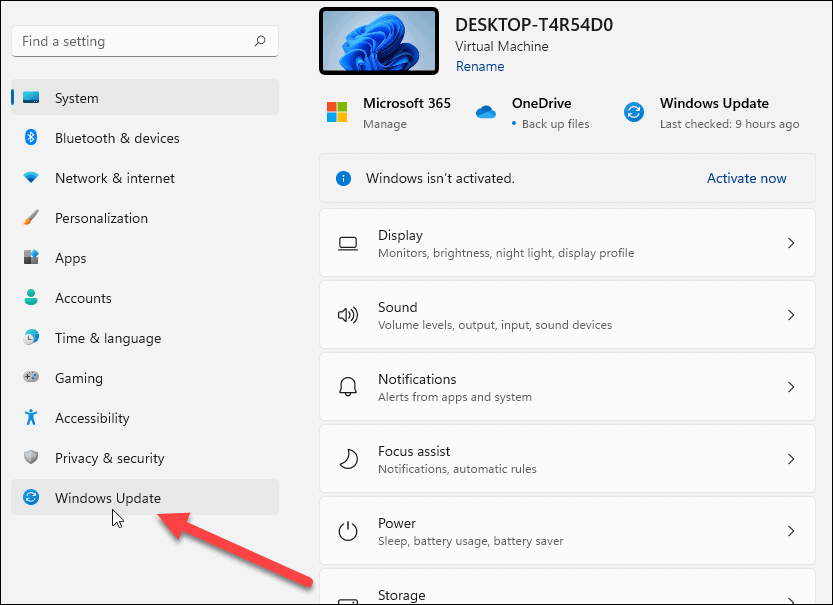
Once you have the Settings menu open, click on Windows Update from the sidebar on the left.
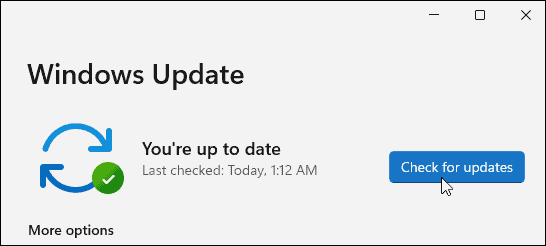
From the next screen, click the Check for Updates button. Note: If an update is ready to be installed, you should see it listed here already. Then, you can click the button to download and install it without checking first.
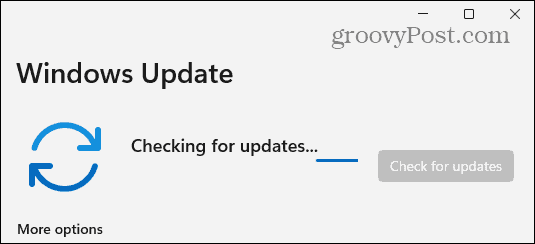
Now, wait while Windows checks the Microsoft servers for any new updates.
If one is available, you will see the update’s KB number and can click the Download Now button to install it. After that, click the Restart Now button if needed. It’s also worth noting that it will display the approximate time the restart will take to complete the install.
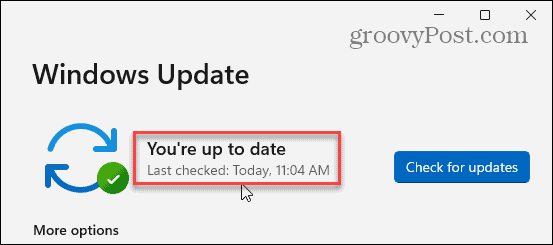
If nothing is available, it will show that your system is up to date. It will also show you the day and time when updates were last checked for.
Checking for and installing Windows Update is straightforward and essentially the same as it’s done on Windows 10. It’s also worth noting that if an update is available on Windows 11, you will see a small update icon on the lower-right corner of the taskbar. If you see that, you can click it, and Settings will open to the Windows Update section. For more on Windows 11, check out our article on doing a clean install. And Windows 10 users might want to take a look at four ways to turn off Windows updates. Comment Name * Email *
Δ Save my name and email and send me emails as new comments are made to this post.


![]()
