In this article I’m using Windows 7. You’ll need a Blu-ray optical drive. They’re the same size as a DVD drive. You can easily swap a DVD drive with a Blu-ray drive on your desktop computer. Not only will it play Blu-ray discs, but also DVDs and CDs. I found mine on Newegg.com for under $100. First download and install the latest version of DVDFab. It lets you remove Sony’s proprietary copy protection on Blu-ray discs. It provides a 30 day trial, after that you need to purchase a license to use the full suite of utilities. But the cool thing is, the HD Decrypter feature – which removes copy protection, is always free. The license never expires. Next download and install the latest version of HandBrake. If you already have Handbrake make sure you’re updated to version 0.9.5 which supports Blu-ray files.
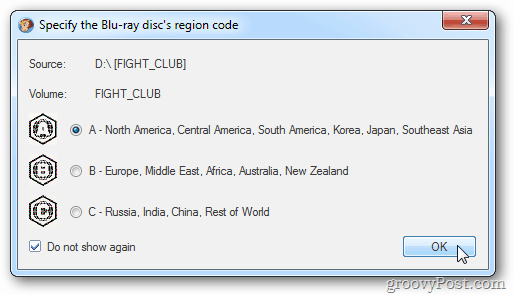
Insert your Blu-ray disc into the drive. Then launch DVDFab. You’re prompted to select your Blu-ray disc region code. Check Do Not Show this Again then click OK.
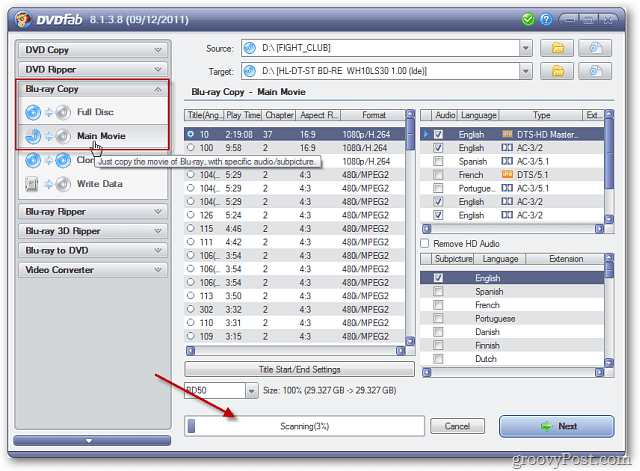
DVDFab scans your Blu-ray disc.
Under Blu-ray Copy, select Main Movie. This will give you the main movie to convert and not all of the extra features. If you want the extra features, then select Full Disc. DVDFab continues to scan the disc.
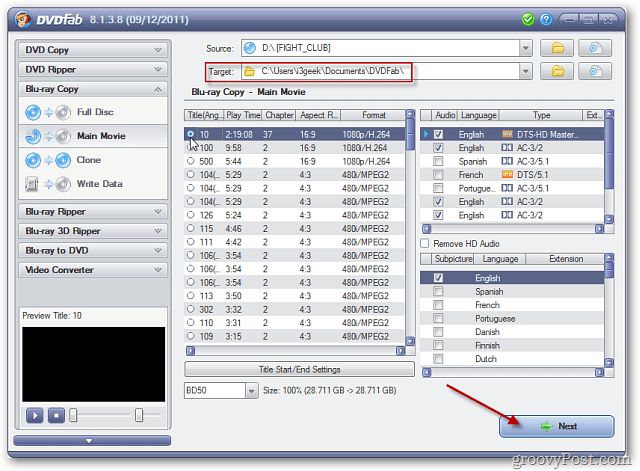
At the top, make sure the source is your Blu-ray drive. Then select a target directory to put the disc files. Here I’m putting them in C:\Users\username\Documents\DVDFab. Select the chapter that has the longest Play Time. Click Next.
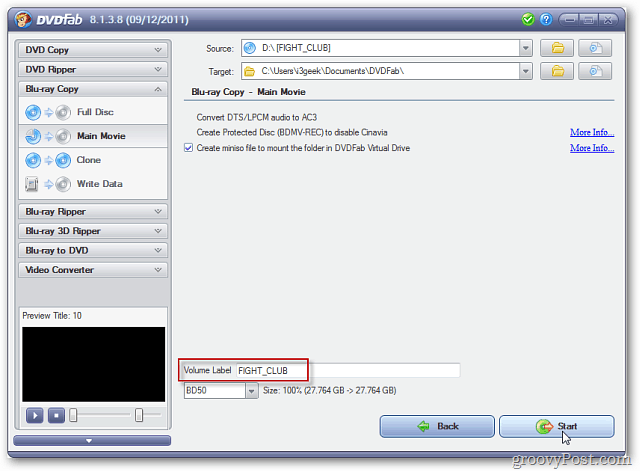
You’ll get an overview of the job. Make sure you have a Volume Label and click Start.
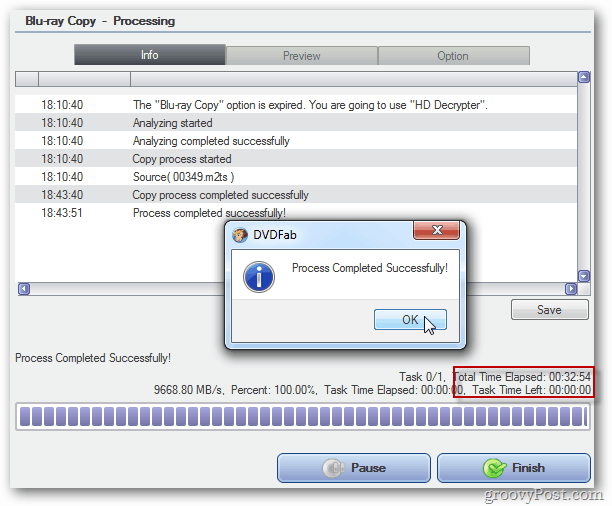
If you get the following expiration message, click OK. The Blu-ray Copy option is expired, but you can still use the HD Decrypter.
The process of removing protection and ripping the files from the disc will start. You can monitor the progress of the ripping process.
The amount of time it takes will vary on each system based on your system’s hardware specs. I ran it on a desktop PC with an Intel Core i3 CPU with 8GB of RAM. It took just over 30 minutes to complete. Your system will eject the disc. Click OK to the Process Successful message. Then click Finish and close out of DVDFab.
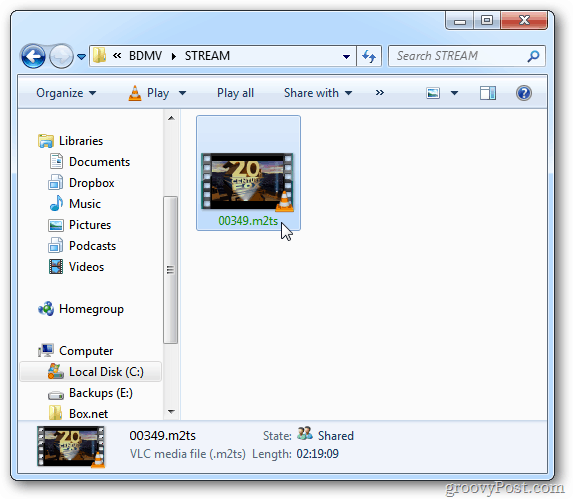
Now, locate the files DVDFab just copied from the Blu-ray disc to your hard drive (the Target location you selected earlier). Open Main Movie then the movie folder.
Then open the BDMV folder, then the STREAM folder. There you’ll find the M2TS file. This is your ripped Blu-ray movie.
You can watch it with VLC Media Player. I recommend going through the movie to verify the rip and copy process was successful and the file isn’t corrupted.
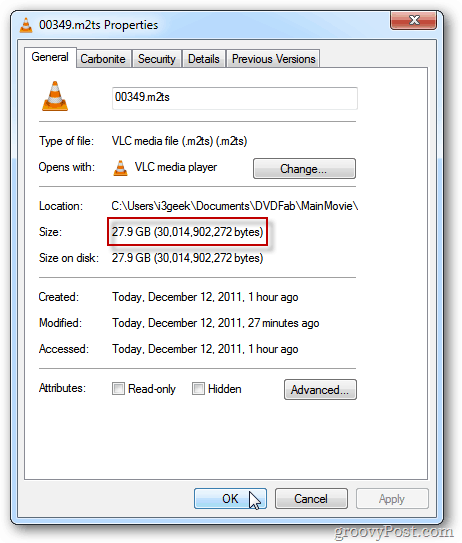
Right click the M2TS file and select Properties. Here you can see it’s a whopping 27.9 GB in size. If you have terabytes of storage, you can store this file to stream to your media center. Or burn it to blank Blu-ray disc.
To save space and still have a quality version of the movie, convert it to an MKV file. Launch HandBrake. Then click Tools » Options.
Select the location of the output file. This is where HandBrake will put the MKV file after converting it. Here I’m putting it in the local Videos folder – but you can put it where you want. Also, make sure to uncheck Always Use iPod / iTunes Friendly File Extension. I didn’t uncheck this option the first time, and the output file was unreadable.
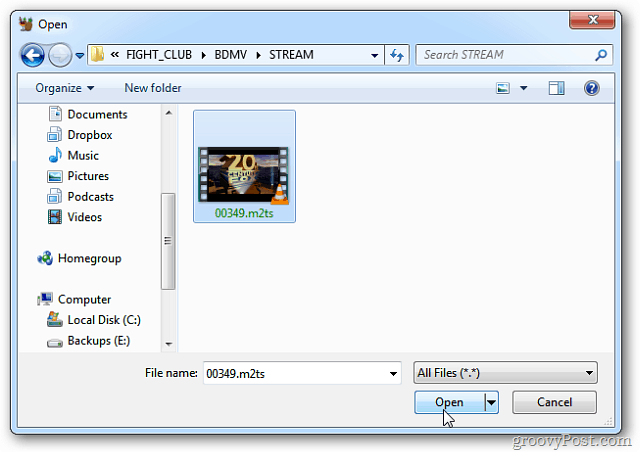
Go back to the main menu on HandBrake and select Source » Video File.
Browse to the location of the M2TS file you just converted. Highlight the file and click Open.
Handbrake will go gray for a few seconds while it loads the file. After it loads, select MKV File for the Container under Output Settings.
You can go through and select custom video settings if you want to tweak the quality of the output MKV file.
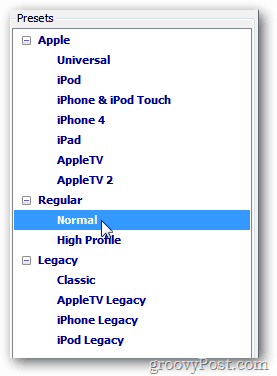
Or, you can use any number of preset settings for the device you want to play the file on.
I’m going to save the file on my Windows Home Server to stream on different computers and devices on my network. In my experience I’ve found that leaving the defaults is good enough. If you’re a videophile and have time, go ahead and play with the different custom settings. After you have the settings configured, click Start to kick off the encoding process.
Keep in mind the encoding process is intensive and uses a lot of CPU cycles and RAM. Here’s a shot of Task Manager showing it running on my Core i3 system.
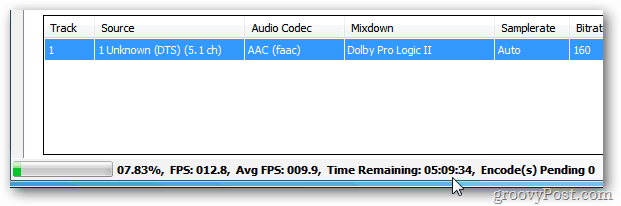
The amount of time it takes will vary based on your system’s hardware and the quality settings you selected. You can monitor the progress at the bottom of HandBrake. No matter what, it will take several hours to process. Having it run overnight is a good idea.
After the encoding process is finished, you’ll see the following at the bottom. Close out of HandBrake.
Now go to the Output folder you selected earlier. Here you’ll find the converted MKV file. Notice it’s much smaller — 6.35 GB size compared to the 27.9 GB file. The quality won’t be as perfect as the original Blu-ray file, but it’s still really good, and saves a lot of hard drive space.
One last thing to do is right click the file, select Rename and give it the title of the movie.
It will play in VLC or any media player that supports MKV files. You can make Windows Media Center play MKV files, then stream it to your Xbox 360 for a full multimedia experience.
One thing to keep in mind when using this powerful video conversion tandem – DVDFab doesn’t clean up after itself. The original 27.9 GB Blu-ray file is still on your hard drive. Go into the DVDFab Output directory and delete the Blu-ray file.
If you still have a DVD collection to backup, use the MakeMKV utility to convert them to MKV files. Or check out Steve’s article on using DVDFab and HandBrake to convert DVDs to play on your iDevice. Comment Name * Email *
Δ Save my name and email and send me emails as new comments are made to this post.


![]()
