You can adjust compatibility settings from the program’s shortcut or from the executable file itself. I prefer using the shortcut method; it gets the same job done, and there is less of a chance of messing something up.
How To Run A Program In Windows 7 Using Compatibility Mode
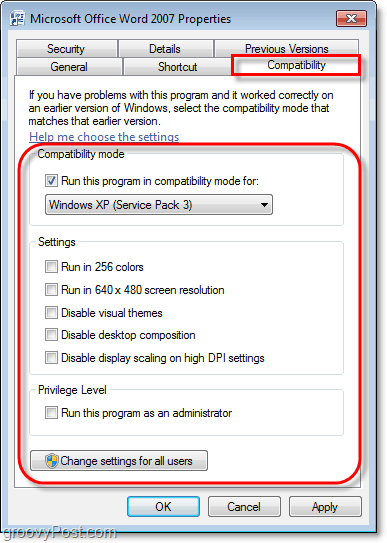
1. Right-click your program shortcut then click Properties from the context menu.
2. Click the Compatibility tab, and now you choose the version of Windows you want to run it in compatible mode with. For a very old program, you would choose XP, for example.
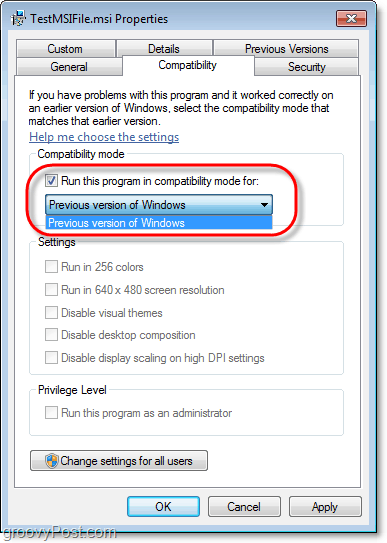
That all there is to it! There are still a few details to cover, but they aren’t something you’ll always come across. MSI files are not capable of running in a manually selected compatibility mode. Instead, Windows 7 will automatically choose the best “Previous version of Windows” to execute the program.
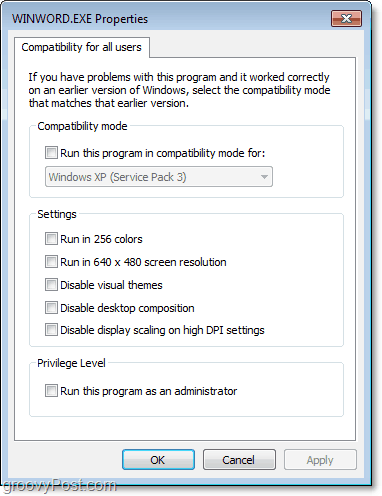
You can change compatibility for all users on a computer by pressing the Change settings for all users button. If you are going to do it, make sure you click the button first because the All Users setting is an entirely separate window of its own. Compatibility for all users will not import settings from the main compatibility window.
Comment Name * Email *
Δ Save my name and email and send me emails as new comments are made to this post.


![]()
