Note: The screenshots for this article were taken on a OnePlus 6T running Android 10. The steps may vary slightly depending on your phone’s manufacturer. But this will give you the general idea of what to look for when changing to a 24-hour time format on your phone or tablet.
Switch to a 24-Hour Clock on Android
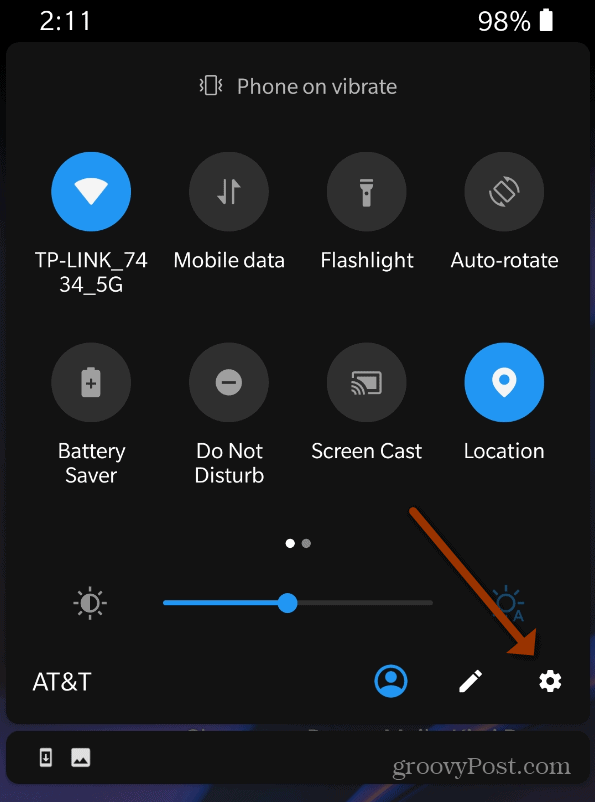
To get started, open the Settings menu on your Android device. Swipe down from the top and tap the gear icon from the menu that comes up. Or, you can also open the app drawer by swiping up on the home screen and select Settings.
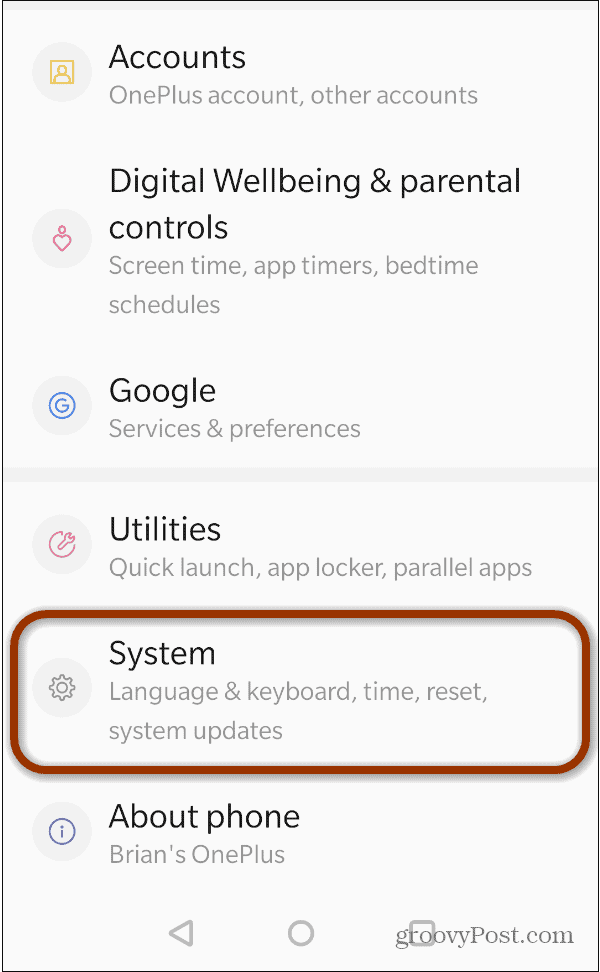
Now scroll down to near the bottom of the list and tap on System from the menu.
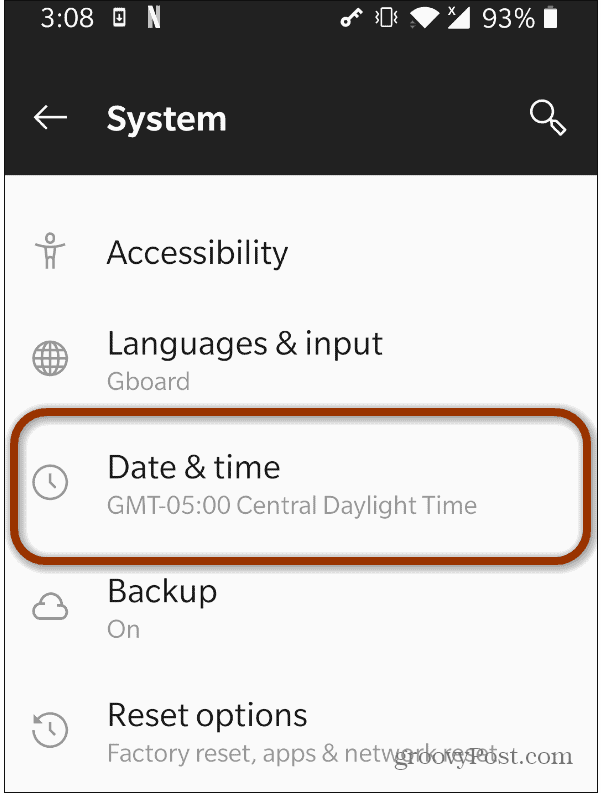
Then tap on Date & time from the next screen.
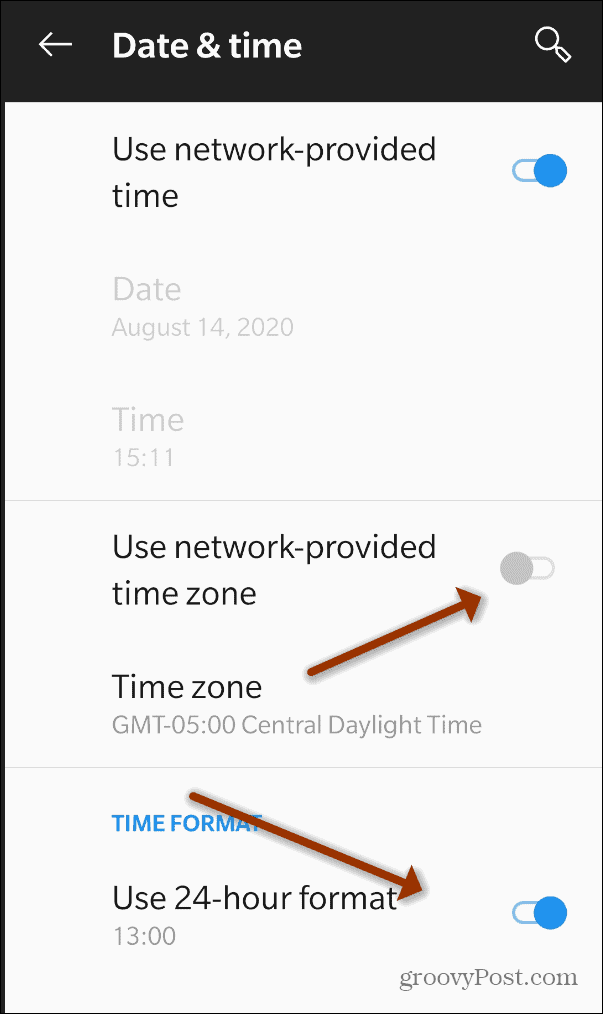
Next, locate and toggle off “Use network-provided time zone” or on some phones, it will be labeled “Use locale default” instead. While you are on this screen go ahead and toggle the “Use 24-hour format” button on.
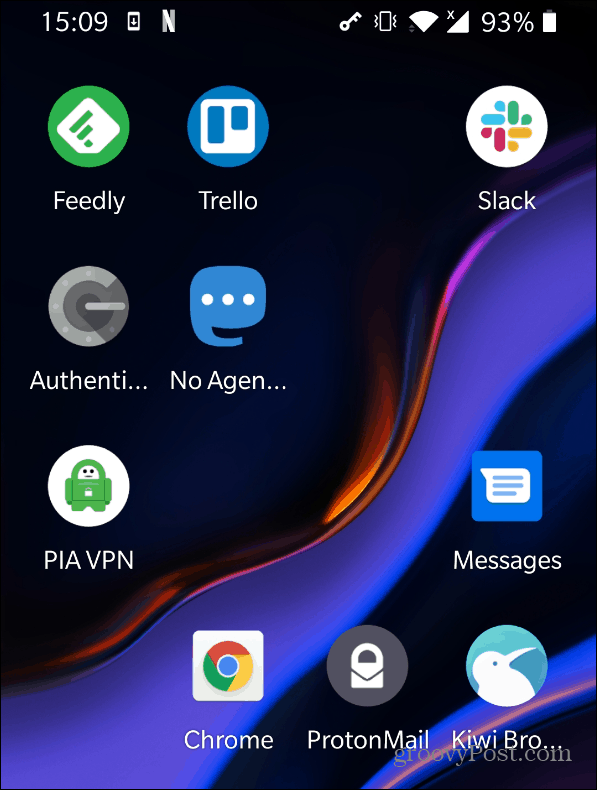
That’s all there is to it. Now at the top of your phone or tablet, the time will now be displayed in 24-hour format or so-called military time.
If you want to turn it off and go back to a 12-hour format you can. Just go back to Settings > System > Date & time and toggle off the “Use 24-hour format” button to the off position. You will also want to turn on the “Use locale default” switch under the Time Format section if appropriate for your phone or tablet. It is used on stock Android that you would find on a Google Pixel phone, for example.


![]()
