For this article I’m adding another 4 GB stick to a Mid 2010 2.4GHz Intel Core 2 Duo Mac Mini. It currently has one 4 GB module in it already.
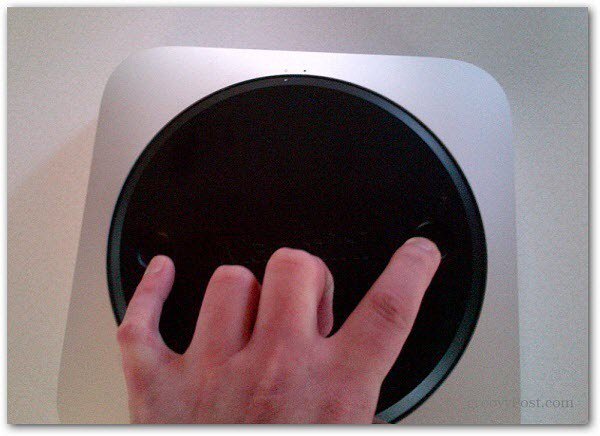
Make sure to unplug the power and every other peripherals you have connected. Turn it over, and you’ll see the black cover. It opens easy by turning it to the left.
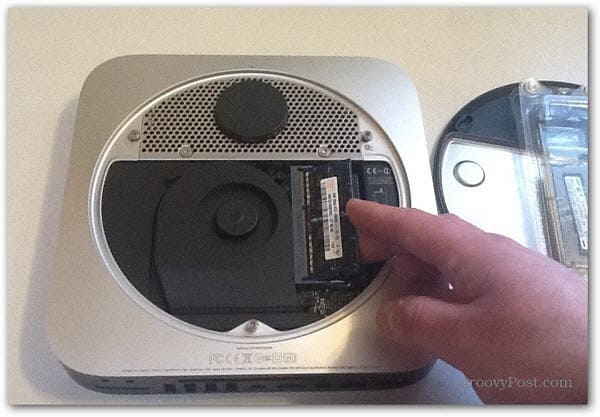
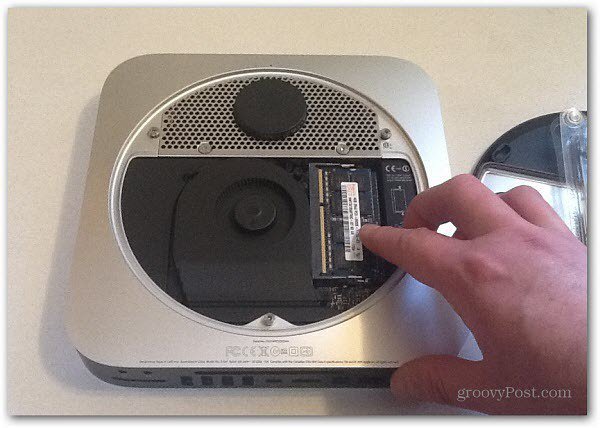
Remove the cover and place it to the side. Right away you’ll see the RAM slots are easy to access. Right now it has one 4 GB module and an empty slot above it.
Grab your extra stick of RAM. Line the notches up correctly and slide it in at an angle.
Then gently push the module down so it locks in with the metal clips. Make sure not to force it. There’s only one way it goes in.
After the RAM module is in place, replace the black cover and lock it into place by turning it to the right.
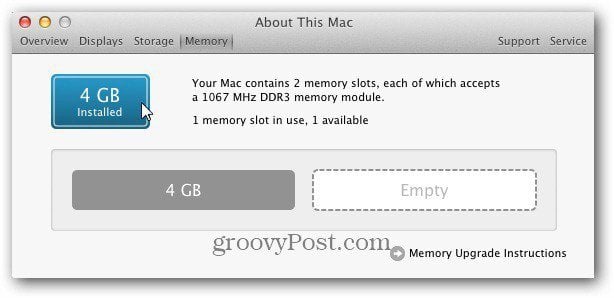
That’s it. Now plug in the power cord, monitor, mouse and keyboard. Power up your machine and make sure the memory is recognized. Click the Apple icon and select About This Mac. Click More Info and you can see I successfully installed the 4 GB stick to get it up to 8 GB.
If your Mac Mini doesn’t recognize the new stick, open the case and reseat the RAM module. Or if you end up with a bad stick, contact the manufacturer to get a new one. Comment Name * Email *
Δ Save my name and email and send me emails as new comments are made to this post.


![]()
