PhotoRec is a free and open-source, cross-platform utility that lets you recover data from a hard drive, flash drive, SD card, and other removable media. It’s a companion program to TestDisk, another open-source program that’s long been used by data recovery gurus for repairing partitions and making non-bootable disks bootable again. Together, PhotoRec and TestDisk are a powerful set of free data recovery tools. Undeleting photos and videos are just the tip of the iceberg. And it’s incredibly easy to do. I’ll show you.
The Scenario: Photos Accidentally Deleted from a USB Drive
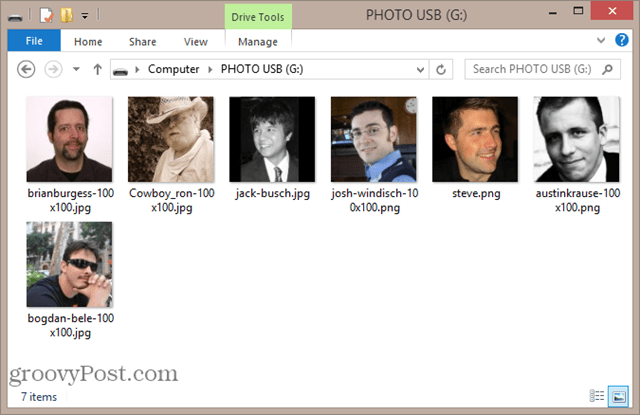
For the purpose of this tutorial, I’m going to recreate a real-life scenario using a USB drive. My sister-in-law was importing photos to her iPhoto library from an SD card and something went haywire. The photos didn’t import, but OS X thought they did. So, the computer wiped the SD card clean even though the photos weren’t saved to the hard drive. She was left with no photos on her computer and no photos on her card. In this instance, PhotoRec was able to recover all the photos (including some that had been deleted months ago). To recreate this situation, I’m going to save some photos of the groovyPost staff to a newly FAT32 formatted USB stick. Note: Mac OS X uses its own OS X Extended Journaled file system (HFS+) for hard drives, but most cameras use FAT.
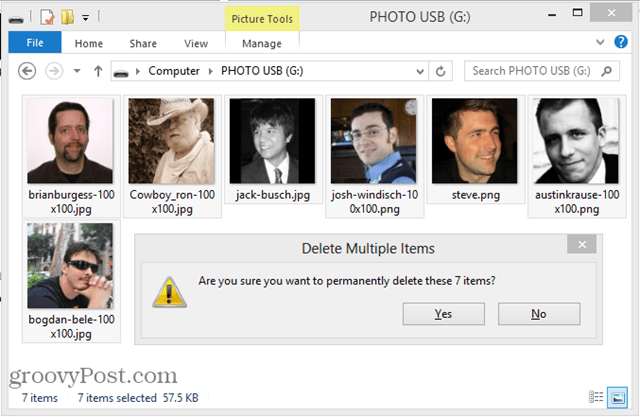
And then I’ll delete them. I’ll even skip the Recycle Bin by pressing SHIFT + DELETE
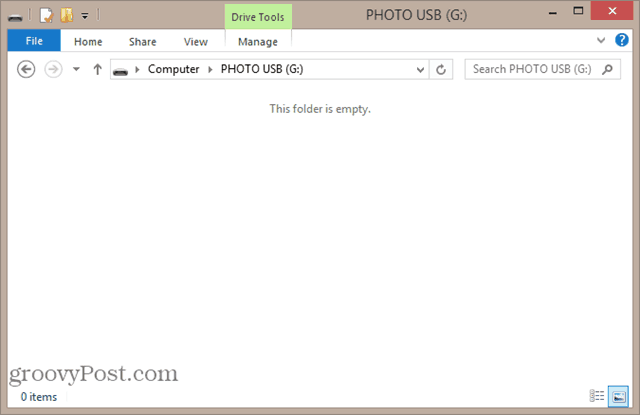
As you can see, the photos are really, really gone.
Okay, we have our problem. Now, the solution:
Undeleting Photos with PhotoRec
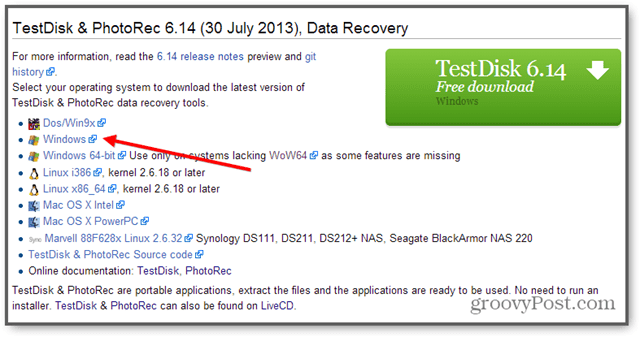
Download the latest stable release of TestDisk. I recommend getting the plain old Windows version. There is a Windows 64-bit version, but it lacks some features. The 32-bit version will work fine on most versions of Windows Vista, Windows 7, and Windows 8.
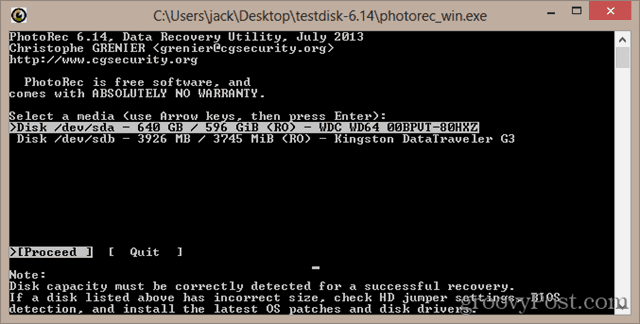
If you are using Mac OS X or Linux, get that version. It all looks the same when you run it. There’s no installation required for PhotoRec. Just unzip the TestDisk archive and run photorec_win.exe. You’ll see the Select a media screen.
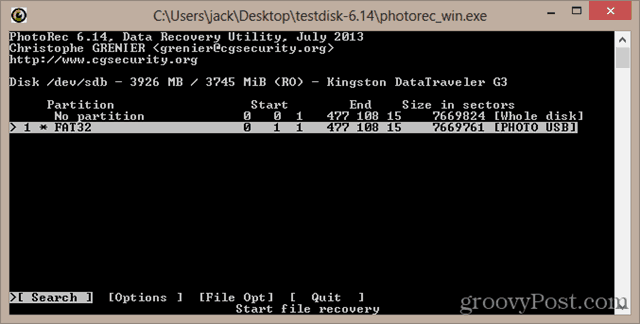
Choose the correct disk from the list. You can usually tell by its description. You can also tell by the size of the disk. I know that my USB drive is a 4 GB drive, so the one that is shown as being 3926 MB is clearly the correct one. The first disk listed will usually be your system disk. Press Enter when you have the right disk selected. Next, you’ll need to choose a partition. If the drive isn’t corrupted, you should see the partition with the file system you chose when you formatted it. If not, you can search the whole disk by choosing No partition.
Next, choose the file system. If you run Windows or Mac OS X, choose Other. If you run Linux, choose ext2/ext3.
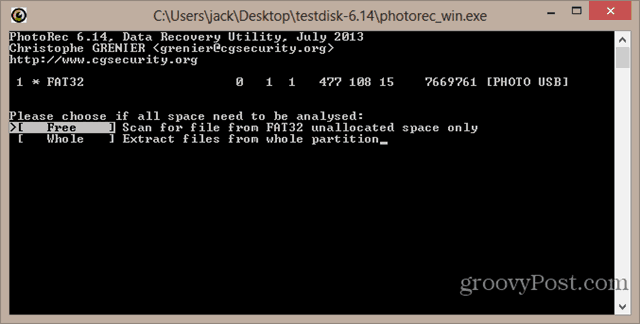
If there is a recognized file system/partition on the disk, you’ll have the option to search the free space or the whole disk. Searching the free space is faster, especially if there is still some data left on the disk (for example, you deleted one or two photos from the disk, but there are still other photos on the disk). Searching the whole disk is more thorough, but it’ll take longer.
Choose a directory to save your recovered photos. Do not save the photos to the same media from which they are recovered. Writing to a disk with deleted files always reduces your chances of a successful recovery. Save them to your local hard drive or another removable drive. Choose a folder and then press C. I’m going to save the photos to my D:\ partition. Note: Don’t save photos in your C:\Users[user] folder. Sometimes, this causes problems in Windows 8. See the notes below.
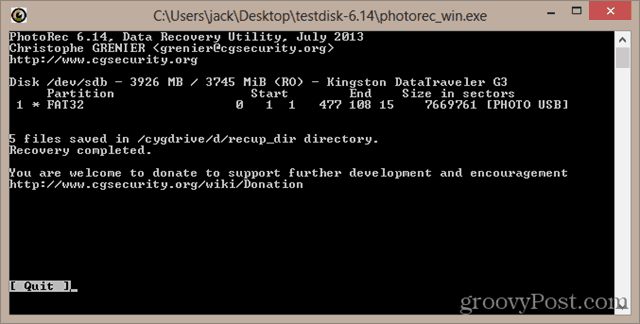
The scan begins. PhotoRec will tell you when it finds a file.
When the recovery is complete, PhotoRec will say “Recovery completed.” It’ll also give you a list of the folders where the recovered data is saved. If there are just a few, it’ll be in a folder called recup_dir.1. If there are many files, then it’ll split it into multiple folders.
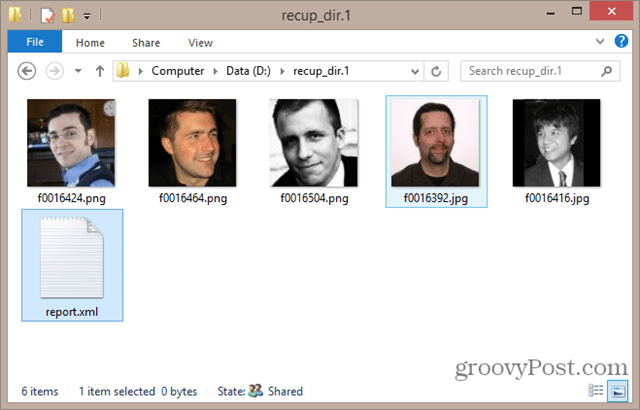
If you open up the recup_dir folder, you’ll see the recovered files. The file names and some of the metadata may have been lost. But the image will be preserved.
In some cases, the exif data—such as camera model, location, and date taken—will be recovered, too.
Notes and Troubleshooting
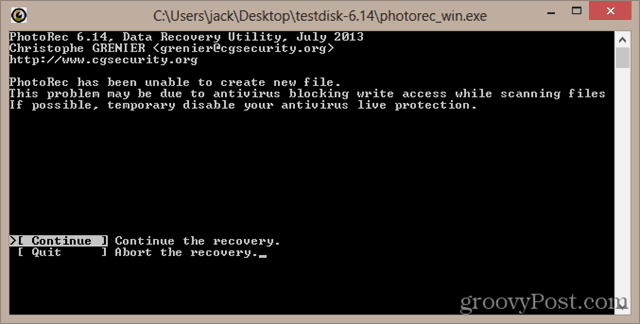
The first time I tried this, I got an error when trying to write to my Desktop on my C:\ drive. It said:
I tried disabling Windows Defender and running PhotoRec as an administrator and it didn’t solve the problem. Ultimately, I saved it to the D:\ partition and it worked fine. I think this has something to do with a command-line application writing to your system disk. If you run into this problem, try saving to a folder outside of your user folder or on another drive or device (just not the stick you are recovering from).
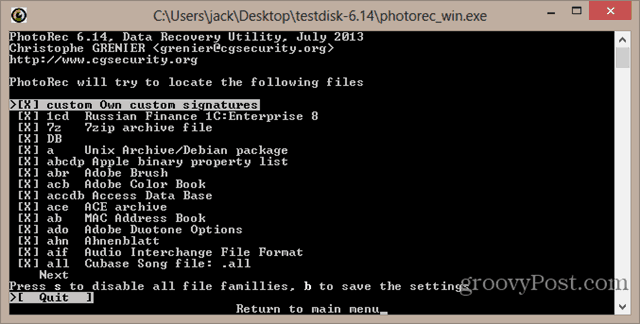
If you are searching a large disk that has been completely formatted, it might help to narrow down the types of files that are saved using the [File Opt] selection when you are choosing a partition. For example, if you are only looking for photos, only select jpg. Otherwise, you’ll get all sorts of other files in your results.
There’s also a report.xml file that’s saved after a recovery. When you are done recovering files, you can safely delete this.If PhotoRec finds a thumbnail inside a picture, it’ll save it with a filename that begins with a t. For example, t0016424.jpg. I ran PhotoRec on a 2 TB drive once and it found tens of thousands for thumbnails. I ended up moving them to a new folder and deleting them.Sorting through the files can be tedious. To sort by date, I used PhotoMove 2. I even paid for the pro version ($5). I sorted out all the ones with no exif data in a separate folder, which filtered out most of the junk. I still sifted through it carefully to make sure nothing of value was in there.I also used ashisoft’s Duplicate File Finder. The free version is limited—you can’t move duplicate files, you have to delete them. But what I did was expand the capacity of my Recycle Bin, moved the duplicate files to the Recycle Bin, and then immediately restored them to a separate folder just to be safe.
Conclusion
TestDisk and PhotoRec are powerful data recovery tools, and best of all, they are open source. If you are looking for a more user-friendly, graphical user interface, you may want to try Recuva, another free Windows undeletion program. Recuva is even easier to use than PhotoRec, though it doesn’t support Linux file systems (ext2/ext3/ext4) or Mac OS X file systems (HFS, HFS+). Need help undeleting a file? Shoot me an email or leave a comment with your question. Comment Name * Email *
Δ Save my name and email and send me emails as new comments are made to this post.


![]()
